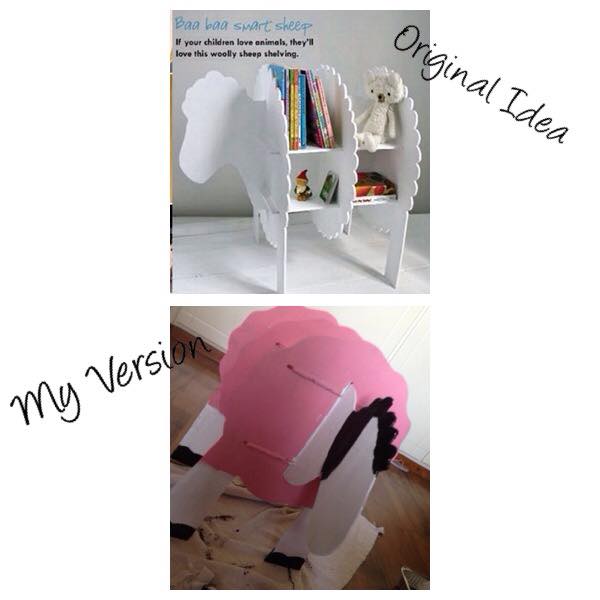
DIY-Kids portable shelf Shaun The Sheep style.
Since design is all around us,and the design process is a complex cycle, which we have studied in our Product Design class. We have decided as a Product Design class that we are going to apply what we have learned in a practical way. Brace yourself, as we are going to see the Product Design Cycle in action!
I have chose to make a kids portable shelf that is based on the cartoon ‘Shaun The Sheep’. But before I start explaining the steps to make the shelf, first I want to explain the product design cycle which is broken down into 7 steps.
Brief -> is basically finding out what is the problem in the market and trying to come up with solutions for it. So I was not sure of what to make that if a business produce will actually sell. However, since the teacher gave us ideas of what we can make I liked the idea of a kids shelf but I wanted to make something that you do not see very often. I wanted something that the children will find it easy to reach to since most shelves are hanged on the walls. Having two younger sisters has helped me by knowing what will catch their eye and make them want to have it. Research->is the next step done after the basic ideas of the new design. I went on Pinterest and searched for kids shelves, I saw many ideas but the one that caught my eye was a sheep shelf. I liked it because it can be portable depending on what materials you use to make it, children can have an easy access to it and it is similar to cartoon character that my sisters like to watch which means that they would like a shelf like that.
Specification-> is finding out the particular requirements of the design after you are done with the research. After I figured out what I wanted to create I started thinking of how I wanted it to be. Since I was going to give it to my sisters after I am done I wanted to make it suitable for them. So one of the requirements was to change the color of the sheep shelf to match more with how my sisters are, so instead of having the sheep white I decided to have it pink so if it is to be sold in the market it would stand out and not look like an ordinary sheep.If I was to make the sheep shelf for someone with special needs I would add wheels on the bottom of the sheep so instead of them carrying it they would just need to push it and it would move. I wanted to make the sheep out of something that would not cause a lot of harm but can be recycled later on, so I decided to use plywood.Another reason why I chose plywood was because it is very light which will make it very easy for children to carry it around. Also if it falls on anyone it would never hurt them because it is very light and not thick. Plan-> is making a brief outline of how the product should/would be. So after I decided on what I wanted to make and also how I wanted it to be I made a quick sketch of how I expected it to be after it is finished. -See picture of sketch below-. I also decided that I wanted the sheep shelf not to be too small or too big I wanted it a suitable size so it will not take a lot of space, also that it would fit normal size toys or whatever the users want to place on it if it is to be sold in the market. Furthermore, I had a plan of the measurements that I need to have in order for one piece to go through another, and I made sure that the gaps were not too big or too small.
Design-> is when the business has the outline and a brief idea of how the product should be and then starts making it. After I had my brief sketch of how I want the shelf to be I started gathering the materials I needed to make the shelf. But before I started making the shelf I took in consideration of what materials I wanted to use that will assure me that the shelf will be standing up straight and will be able to carry things because if a factory made it and it was not stable or strong enough to carry things then nobody would buy it because it would be a waste of money.After I had everything sorted I started making the shelf. Test-> after the product has been designed it has to be checked to make sure it is actually doing what is meant to do. After the sheep shelf was half way finished I could see that it was not very stable until I put the shelves on which made it stand straight and not wiggle. Then I got some items like books, toys, etc. and put them on the shelf to see if it was strong enough and it was, and it was not shaking like it did before i placed the shelves.Evaluate-> is basically when the product is judged whether it will meet the consumers’ wants or not, also if it is worth the amount that is set for it. I think that if my product is made in a factory it will sell in the market, because it will be done professionally with no flaws not like my version.
Now let us talk about how to make a sheep shelf in simple easy steps. But before we start I will first talk about the materials that I have used.
You need:
- Plywood- However any other material could be used
- Paint
- Paint brush- It can be any size you want
- A tool that cuts wood- I used help with the cutting because I did not know how to use the machine
- A thinner- to make the holes in the wood
- Superglue/ silicon- to attach the shelves with the body
- Pencil and paper- to do the outline of the body before you trace it on the wood to cut it
- Gloves and unwanted clothes- to wear to avoid paint spilling on your hand and on clothes you like
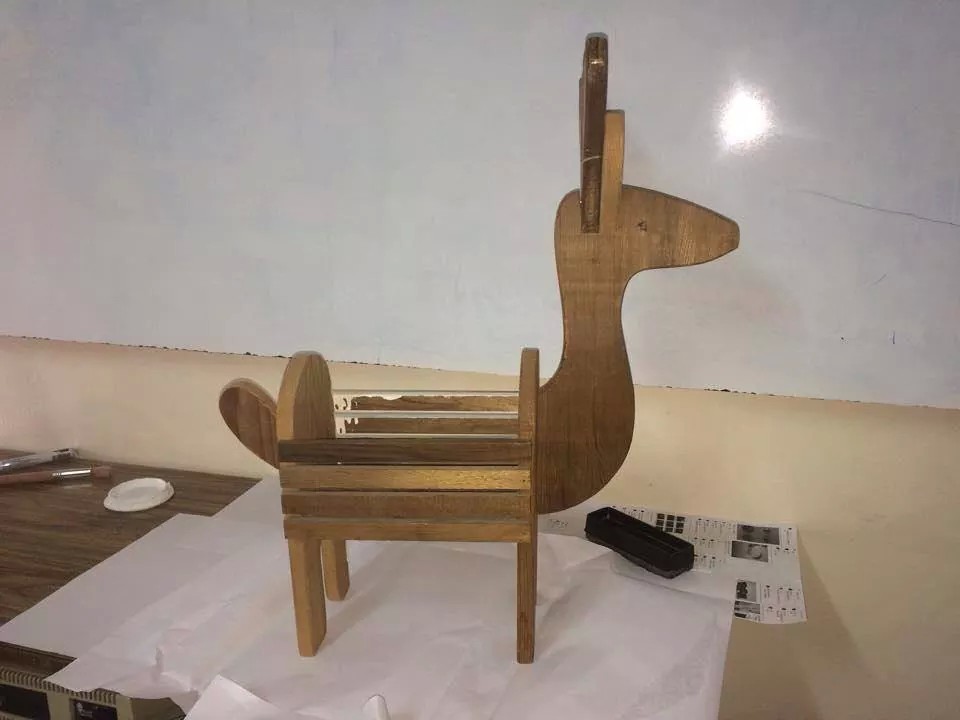
So I started off by first drawing the different pieces that were going to get attached together to make the sheep. After I had my drawings I went and traced them on the plywood, then I used some help with the cutting of the plywood. After the pieces were cut I took measurements of each piece to decide where to make the holes, so that all the pieces will fit together without any problems. After I decided where to make the holes I had someone helping me with opening them and making sure they are the correct size. Afterwards, I attached all the pieces together and the body of the sheep was formed, and they all fitted together perfectly.
Then I took measurements of the lengths from one end to the other to be able to know how long/big my shelves should be. After I had the measurements of the shelves and I cut them I placed them where they are meant to go, then I super glued them in the holes they are in so they are stable and help the body not to move/shake.After the actual shelf was built and ready I started painting it. I wanted to paint it pink, but because I had no pink paint I got red and white paint and mixed them together and they gave me the color I wanted. I painted it the body pink, the neck and legs white, and the hair and tail and the nails black.
To conclude, if I was to do this again I would use other different types of wood that are also easy to carry. If I would use plywood again I would try to find a god quality or a brand new one, because the one that I used was the package of a machine so it had some broken pieces. I would also pay more attention to the measurements I took, because the legs were not all the same sizes and lengths. Lastly, I would spend more time decorating the sheep to make it look better and more eye catching. But overall I was happy with the outcome of this project even if it had a couple of things that could have been improved.
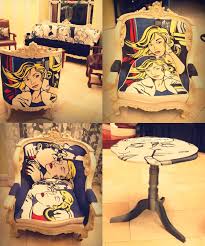
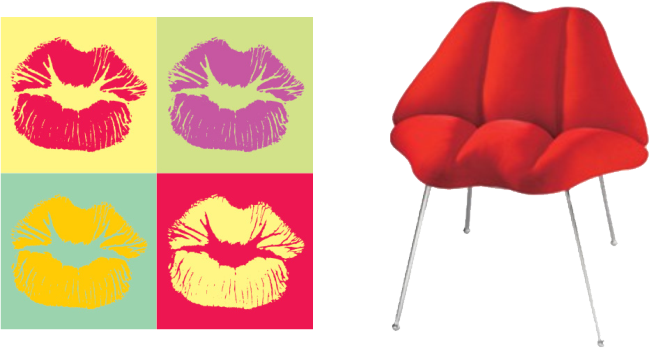
http://imgs.su/users/25384/1430510725.jpg <- Link to mood-board.
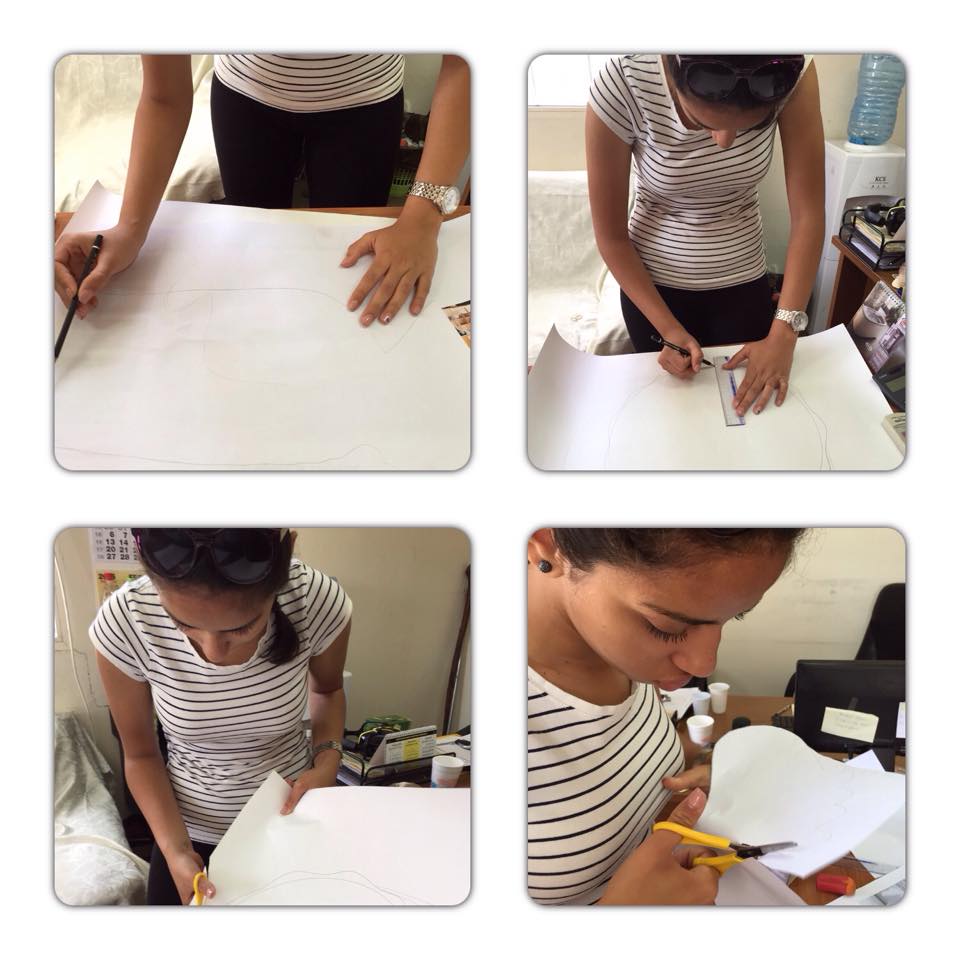
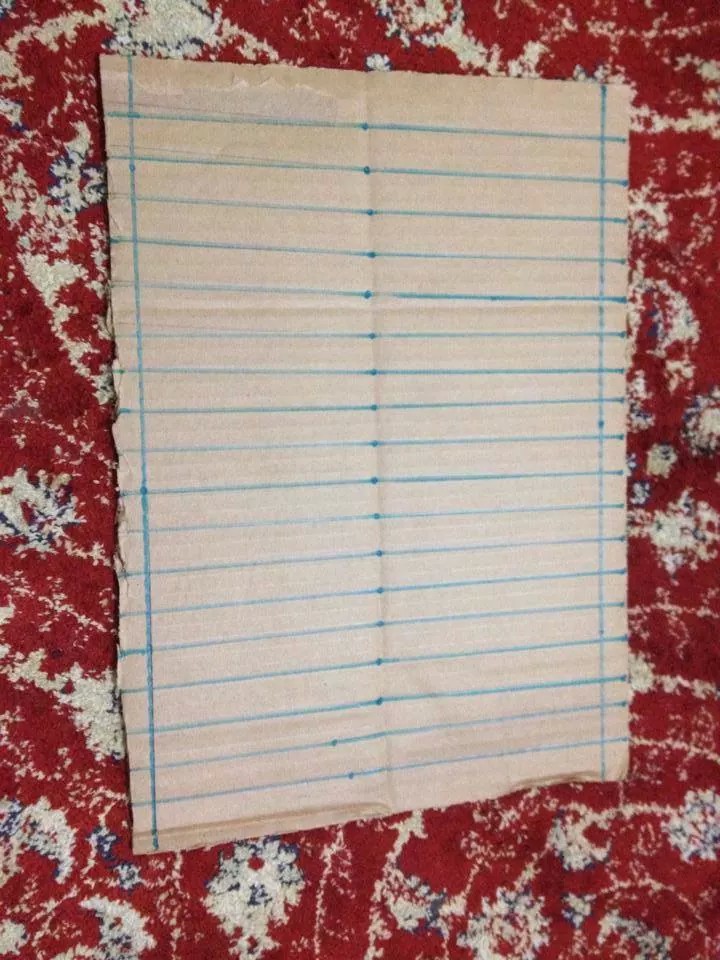
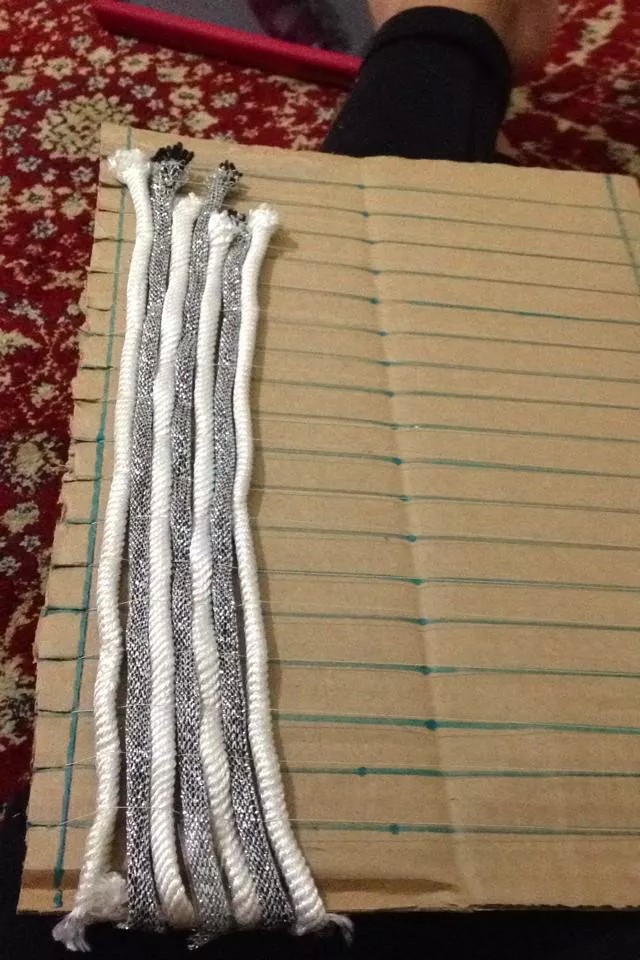
The first steps.
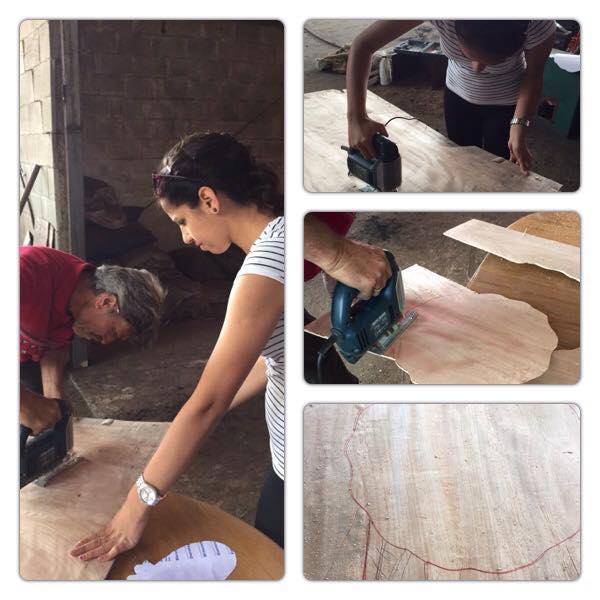
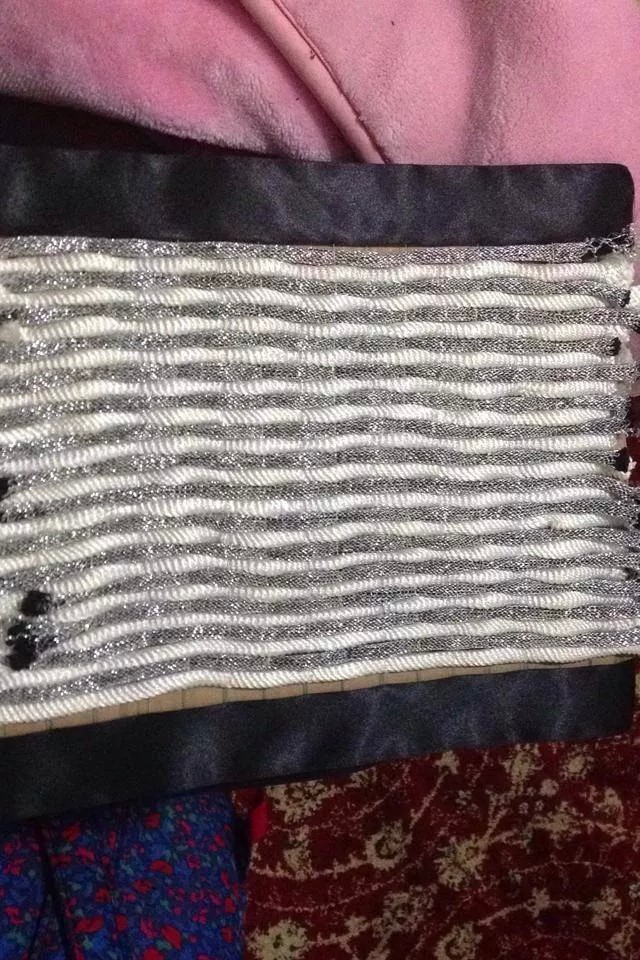
The cutting of the pieces part 1.
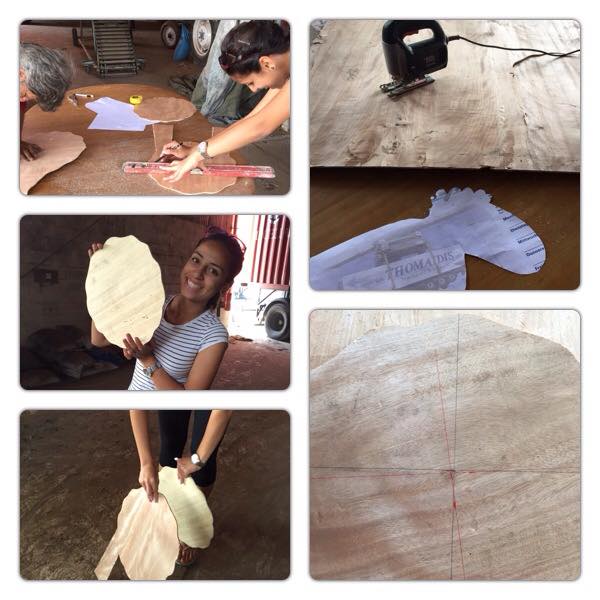
The cutting of the pieces part 2.
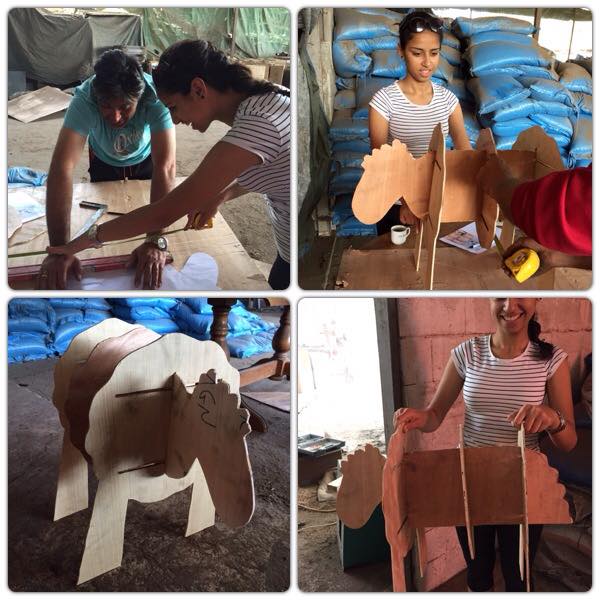
Attaching all the pieces together.

Painting the sheep.
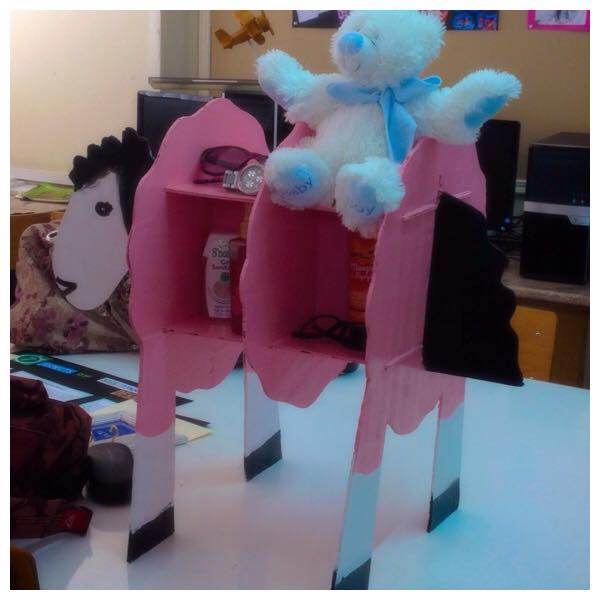
Meet Shaunita!
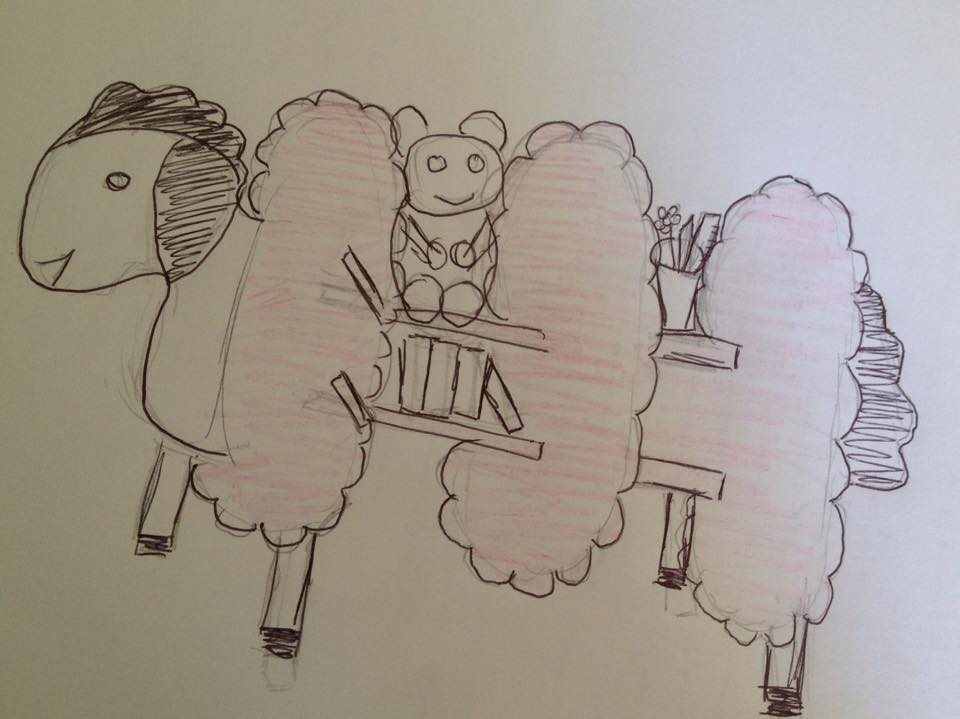
Design sketch